All posts by Rose

Up-Cycling on Op-Shop Week

Last week was National Op-Shop week, founded by the charity Do Something. The aim of the week was to help stock up charity shops with quality donations from those of us who enjoy a great op-shop bargain. We were asked to spring clean our wardrobes and donate those items that we haven’t worn or used for a year or two but to make sure those items were good condition. I know I have been guilty of donating some dodgy stuff in the past, especially with some of the children’s ‘worn out’ clothes. I am now determined to mend my ways (and perhaps some of the clothes!). From now on I will make sure my clothes’ donations are clean, and good enough to wear ‘off the peg’. That’s the standard I expect when buying something at a charity shop, so that’s how I should donate.

raincoats
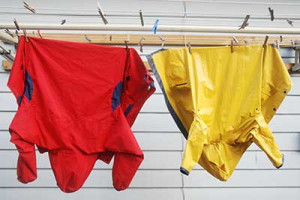
With Op-Shop Week in mind, I felt inspired to have a Spring Clean and get rid of some more ‘stuff’. Unfortunately, with the amount of rain that fell in Sydney last week (I don’t know how much, but it was ‘a lot’) it wasn’t the best week for the task. I did wash some of the clothes that I had found for donating (including a couple of rain coats) but the gap between rain showers was short and not much dried on the washing line. I have, however, made a start and will continue to sort and get some clothes ready for donation this week.

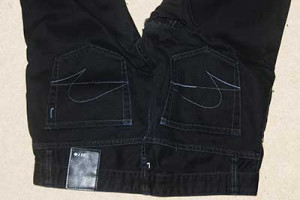
But then comes the question of what to do with the stuff that I shouldn’t donate. I don’t think anyone will want Junior Rambles’ old underpants and Mr Rambles’ worn-out black jeans can’t be donated because they have a big rip in them.

rippedjeans
I don’t want to chuck them in the bin, adding to landfill, so my mission is to ‘reuse’ them. The underpants have gone into a rag-bag and will be used for cleaning/polishing. The jeans material, where there are no rips, is really good quality. Last year I covered an old office chair, whose seat was worn out, with an old pair of Mr Rambles’ jeans and it looks great. So I decided on a similar project.

rippedstool
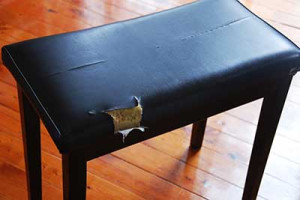
Our piano stool has had a rip and cut in it for many years now. After its journey from England the removal men unpacked it with a sharp knife which went through the packaging and the seat cover. I have been meaning to repair it for years, and this weekend I found the inspiration and the material to do it.
finishedstool

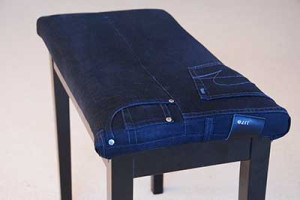
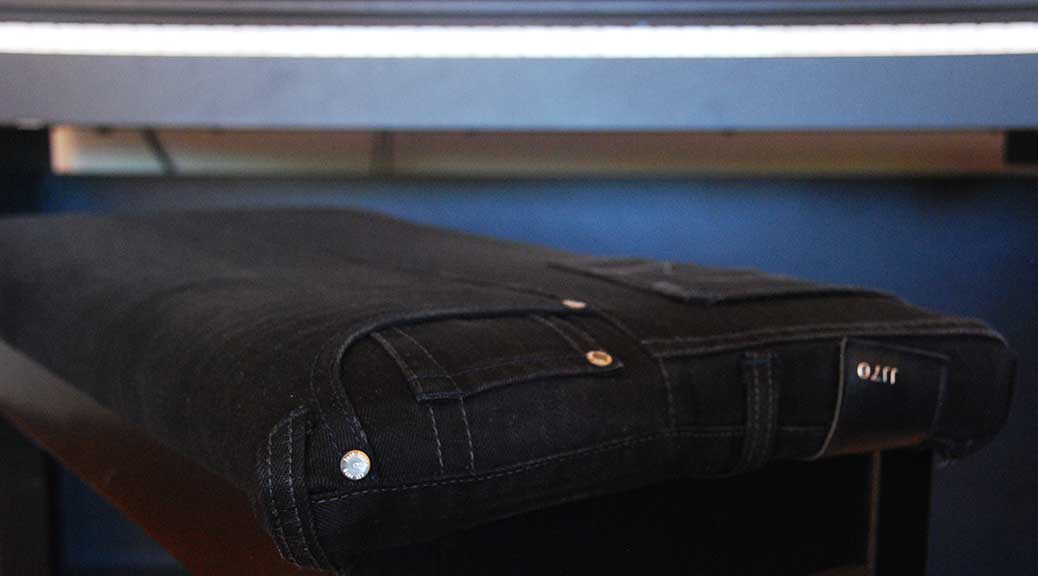
A quick unpick, some sharp scissors and a staple gun was all it took. It’s not perfect, but it looks a lot better than it was. I am not sure of the correct terms, but I feel I have ‘reused’ the jeans and ‘up-cycled’ the stool. Junior Rambles has given the new seat cover his seal of approval!

juniorat-piano

Pear and Oat Muffins

A couple of years ago, Master Rambles was on a special elimination diet and the only fruit he was allowed to eat was pears. This humble fruit was tried, tested, and re-invented in many of our recipes. Pear and oat muffins were the most successful and proved popular with the whole family. They have also become a firm favourite with my fellow Thursday morning Stand Up Paddle group.

I have had a few requests for the recipe, so here it is, enjoy!

cookedmuffins
  • Cream together 150g of softened butter and 80g of brown sugar with 1tsp of vanilla essence
  • Add 100g of rolled oats and stir through
  • Now add 225g of self-raising flour (I use wholemeal) with
    2 beaten eggs and 3-4 pears (peeled and chopped into small chunks) and stir through
    Note: extra/over ripe and juicy pears are best.
  • Divide the mixture evenly between cases in a standard 12 hole muffin tray
  • Sprinkle the top of each muffin with a little brown sugar
  • Cook at 190C for about 25 minutes
  • Check that they are crisp and nicely browned on top, then remove from tray and cool on a rack

papercut
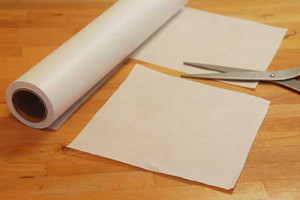
You can use pre-bought muffin/cup cake cases, but making your own (out of baking paper) is cheaper and the finished cases can go straight into the compost. Cut 12 squares out of the baking paper.

paperfold
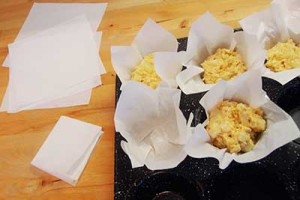
Next, fold the squares in half twice, then open them out and push them into the holes. Carefully spoon your muffin mixture into each one.

The Art of Composting

The Eco House and Garden, at my local ‘tip’, Kimbriki Resource Recovery Centre, is a fantastic education centre. It comprises a large building/office and edible garden made almost entirely from reused and recycled materials rescued from landfill. From there a team of eco gardeners run various, free, courses on sustainable gardening practices. Last year I attended ‘The Art of Composting’ course.

compostplate

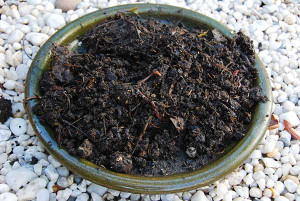
After previous failures and frustrations with composting, I am now managing successfully to produce usable compost from our kitchen and garden waste. I am not, by any means, claiming to be an expert; however, I hope I can help and inspire others to give composting a go. These are the best 7 tips I learnt, enabling me to produce compost efficiently and quickly in a compost bin.

1. Cut up your waste

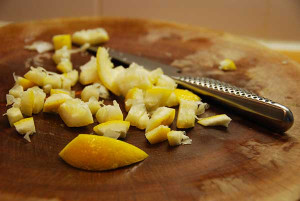
cutlemonpeel

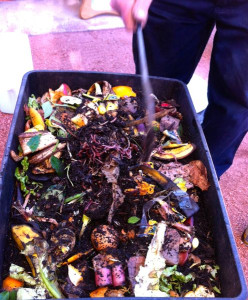
The smaller the pieces of waste, the quicker they can breakdown. This includes both garden cuttings and kitchen waste. It doesn’t take too long to cut and makes such a difference. I have discovered that certain scraps take much longer than others to breakdown, these include citrus peel and egg shells. I cut up peel into small pieces before putting it in, and I crush egg shells up into tiny pieces.

2. Add worms

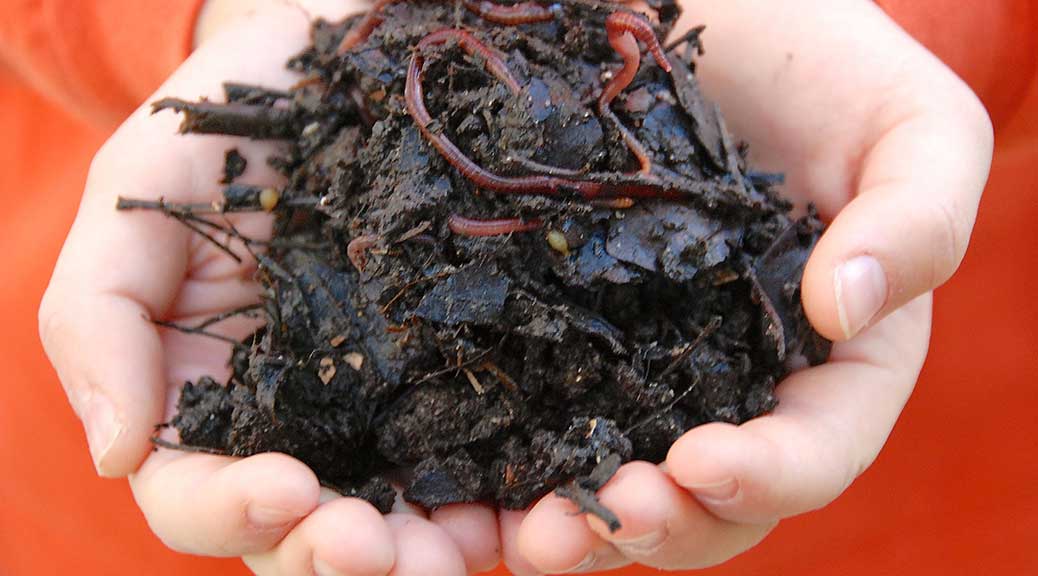
My neighbour gave me some worms from his compost bin, but I also discovered that when I started a second compost bin the worms just appeared. (If you build it they will come?) The worms help breakdown the waste and are an essential part to successful composting, so if you don’t have any, you need to get some. You only need a few as they breed very quickly. Apparently they stop reproducing when there are enough worms for the space they have, so it isn’t possible to become overpopulated with worms. Clever fascinating creatures! A quick internet search for ‘composting worms’ will help you buy worms (apparently they can be sent by mail – amazing!) so if you are not lucky enough to have an obliging composting friend or neighbour, this might be the way to go.

3. Add equal amounts of ‘green’ and ‘brown’ waste

freshcompost

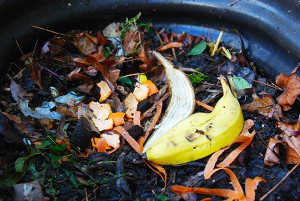
I keep a pile of dry leaves next to the compost bin so whenever I chuck in my kitchen scraps I add the same amount of leaves. If you put in too much of one type of carbon (eg grass cuttings) it doesn’t breakdown as well and can get smelly; a good balance is really important.

4. Diversity is the key to a good compost recipe

Adding a diverse amount of materials into the compost bin means the compost will contain more nutrients. Egg shells are good for adding calcium, but you may not realise that you can put human hair and nail clippings into the compost bin. Animal manure is also good, I put our chicken droppings in when I clean out their coop, and I often add some cow manure (which can usually be bought from garden centres).

5. Keep it moist

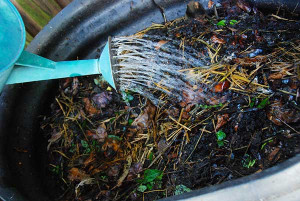
watercompost

Compost needs to be kept moist to remain active and for the worms to stay alive. I usually add a watering can of water every time I top up with waste.

6. Turn your compost regularly
compostturner

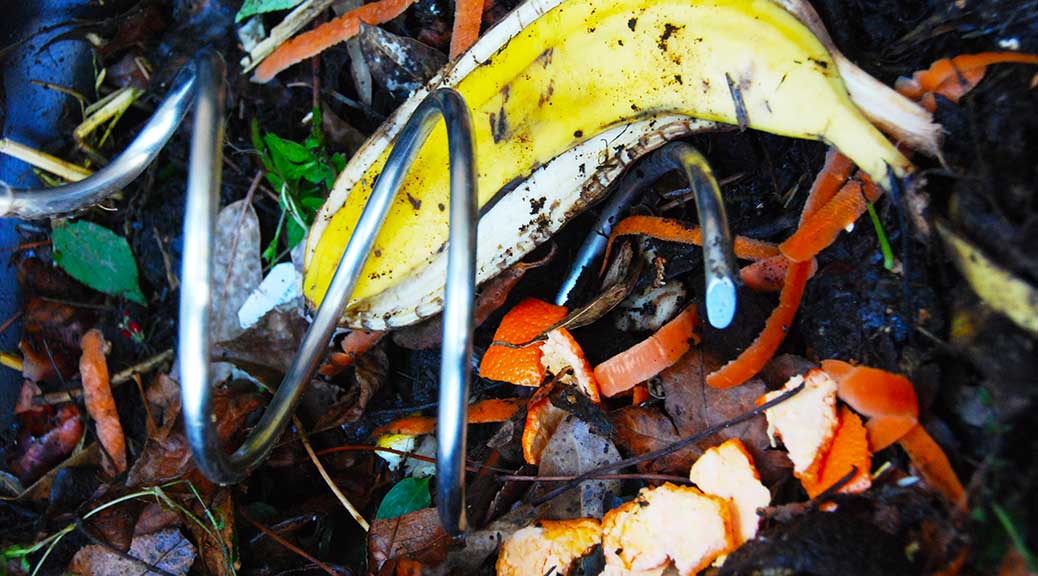
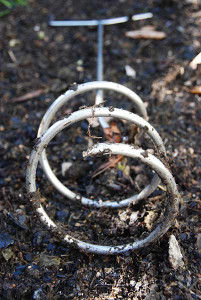
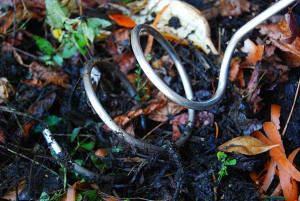
I used to ‘layer’ the different waste and occasionally empty the bin and ‘turn’ the compost with a spade before putting it back in. This was hard work, time-consuming and I didn’t do it often enough. The best, and by far the most useful, tip that I got from the course was to buy and use this compost turner. Turning and aerating the compost is one of the most important jobs, and should be done at least once a week. This brilliantly designed turner makes the job easy and quick. It can reach down to the bottom of the compost to really give it all a thorough mix. The team at Kimbriki Eco House make and sell these stainless steel ones. They have a stall at my local farmer’s market, where they give free advice to help inspire people. They also sell the turners and a few other useful composting and gardening supplies. I know that hardware shops sell a similar compost turner, which would probably work fine, but it may be made from a softer metal and may bend out of shape. turningcompost1I have no idea if these turners are sold outside of Australia; there are probably some similar ones out there. If you can’t find one, perhaps try asking a blacksmith to make you one! There is no comparison between this and a spade.
7. Keep your compost covered

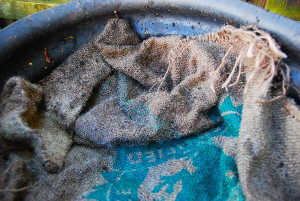
hessiumsack

Your compost bin should be sealed with a lid, to stop unwanted predators, such as rats, from getting in. If you find they are burrowing in from underneath you may need to place your bin on concrete, or place a metal sheet at the bottom. To help keep it dark and moist (which also keeps the worms happy) it is a good idea to place some cloth material on top of the compost. I use old hessian sacks which I can buy from my local garden centre. But and old tea towel or old cotton jumper would work just as well. Be warned though, they will eventually need replacing, as the worms enjoy munching their way through them too!

Good luck with your composting and please let me know if any of these tips have helped you.

More composting stories coming soon!
Under the Dome

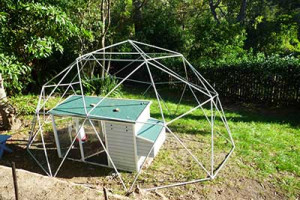
Although the chicken coop was great, we wanted to girls to have some freedom so I was letting them out of the coop during the day. To start with this was fine, they didn’t wander far, but we don’t have a properly enclosed garden and after a few weeks they became more adventurous and decided they liked visiting the neighbour’s garden. That wasn’t too much of a worry, the neighbours didn’t seem to mind, but our concern was that they were walking along the roadside. We decided they needed a bigger enclosed area so they had more room to move about in when we weren’t at home to keep an eye on them.

chooksondome2
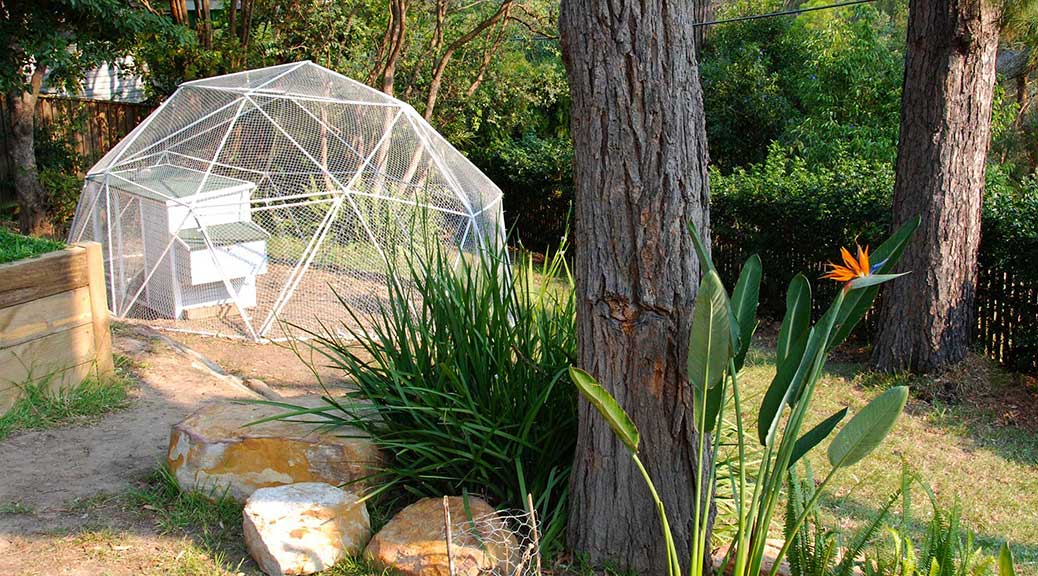
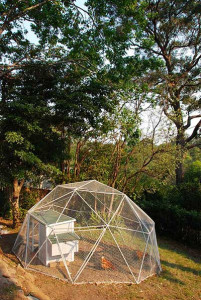
We didn’t want an ugly looking run in the garden, and so Mr Rambles decided he would take up the challenge of building a geodesic dome, with the idea it would look like a garden feature as well as a practical home for the chooks. I trusted him with the design and was on hand to help with the labour. It was difficult to find the right materials, but we ended up using conduit piping.

After several days of cutting the right lengths and squashing the ends of each piece to make it possible to screw together (and acquiring many blisters on our hands) we were ready to start constructing.

chooksondome
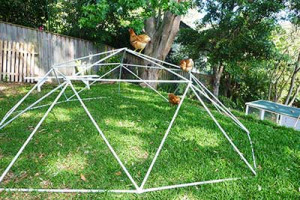
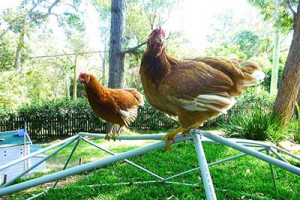
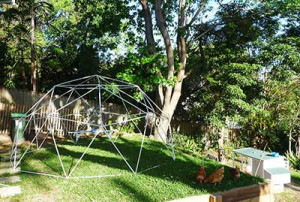
The chickens were very interested in the proceedings and enjoyed perching on the dome from the beginning. It wasn’t easy and we weren’t too sure it was going to hold together, but it did. It looked fantastic. Wow, thanks Mr Rambles.

chooksndome
Now all it needed was some covering to stop the chickens getting out, and wild birds and other animals from getting in. After another trip to the local hardware store we came home with a netting which claimed would keep birds from getting through. I think it is designed for protecting edible plants from birds (veggie patches, fruit trees, grapevines etc.). Being an unusual shape it was tricky to cover the dome but we finally managed it, finishing parts off with a needle and thread to bring the seams together. Fantastic!

dome3
We let the chickens out of their coop and into the dome. We happily left them and went out. When we returned home they were happily free ranging in the garden, outside the dome!! I picked them up and put them back inside, turned around and they were back out again. A friend who was with us was in hysterics as I desperately searched around the bottom of the dome to find where I hadn’t sealed it properly, only I hadn’t noticed where they had pecked an enormous hole in the netting which they were happily jumping through! And so we learnt what ‘chicken wire’ is for. We purchased a roll and covered the bottom half of the dome with it. Job done.

dome2
It was a labour of love but well worth it. We have had so many positive and admiring comments from friends and neighbours, even inspiring some of them to get chickens and build a dome themselves. Not sure if anyone else has yet, but we will be happy to give them advice and help them learn from our mistakes.

The chickens are now happy in the dome, we do still let them out for forages in the garden when we are around to watch them, but in the dome they have space. They have room to flap their wings about, and enjoy sitting on and jumping off the coop. They also have a place for dust baths and an old bench to perch on. Lucky chooks.

Creating the Kitchen Garden

boots
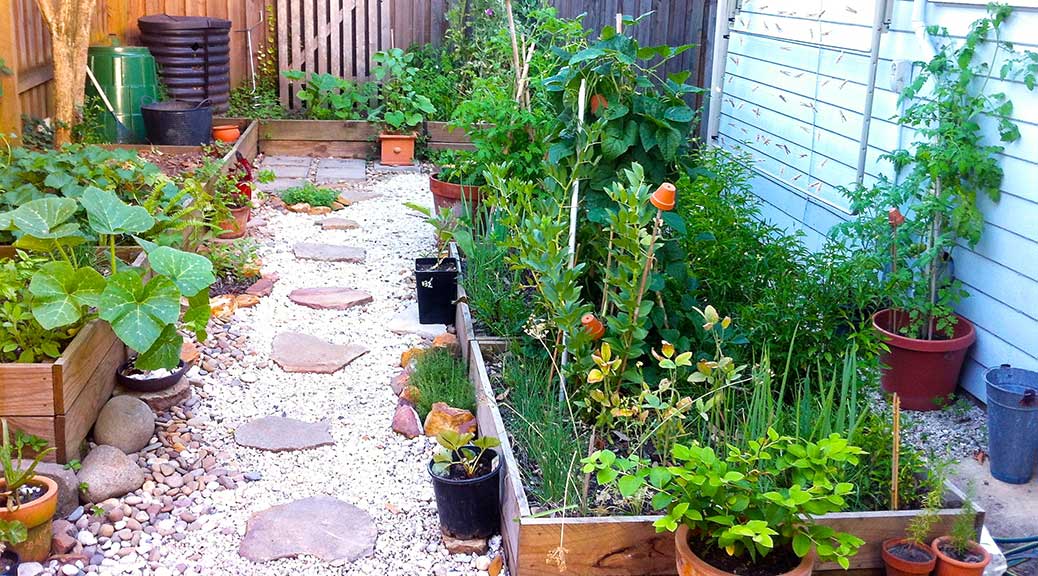
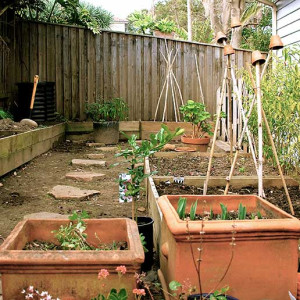
As well as a larger area of garden at the front (where the chickens live) we are lucky to have a small, north facing, patch of garden just outside the kitchen door. When we moved in this consisted of; a ‘sooty mould’ infested Lilly Pilly hedge, a scrappy patch of grass with a washing line, and a well worn deck. After several failed attempts at curing the hedge of its black leaves, I decided to pull the whole thing out. What a great decision, it made the garden much bigger, and lighter.

edible1
I had wanted to grow veggies and herbs here, but had tried in pots for the first two years, with not a great deal of success. Now we had more space I enlisted Mr Rambles’ help in building raised beds around the fence boundary where the hedge had been, and in the central grass area where we had moved the washing line from. The washing line is now attached to the side of the house, where it can be folded away, takes up much less space and gets more sun.

edible2
Since putting the veggie beds in I decided that the rest of the garden would be created from found and reused materials only. It is still changing and evolving and has now become one of my favourite outdoor spaces to spend time in. I have had various failures and sucesses with my edible plants, and I am still experimenting and learning what, when and where to grow. Last summer we enjoyed some of the best successes yet, including chillies, cherry tomatoes, beans, spinach, spring onions, beetroots, potatoes, pumpkins and various different herbs.

A Story of Smells and Successes

Junior Rambles enjoys checking and turning the compost. I am so glad that he seems as interested and fascinated as I am at how our ‘waste’ turns into new soil for the garden.

I love the idea of of reducing the waste I put in the rubbish bin by putting kitchen scaps into a compost bin instead, but I have tried and failed many times with compost over the years. Open piles or sealed bins just didn’t break down their contents, but they were successful in being smelly. I tried again about three years ago when I found a discarded compost bin in the hedge of our property. I read up on the internet and borrowed library books to search for advice. I tried a layering technique, mixing dry carbon (leaves, twigs etc.) with grass cuttings/kitchen scraps. It was my first success, but it was over a year before the contents had broken down enough to vaguely resemble ‘compost’. Even then I was finding bits that hadn’t broken down; corn cobs, avacado skins, etc.

Last year I noticed my council were offering a free composting course that I could go on, called The Art of Composting and Worms. I have to admit I was slightly skeptical, not sure how much I was likely to learn on a free council course, but thought I had nothing to lose so decided to sign up and go along. 

IMG_1921

I was wrong. I learnt a lot. Of course, I couldn’t see the ‘scraps’ breaking down into compost during the course, I only had their word for it that if I followed the techiniques I had been taught it would work. Less than a year later I have managed to produce several bins worth of kitchen scraps and garden waste into compost! It takes me a matter of weeks now, instead of months/years!

I will keep you in suspense for now, but I promise to write soon about what I learnt and how I do it!

Paddling on Pittwater

We live near the shores of beautiful Pittwater and until recently only enjoyed the beaches and the views but we had never been on the water. For years we had watched people stand up paddling on Pittwater and thought it looked fun. We finally got round to having a go last year when I bought Mr Rambles a voucher for a stand up paddle lesson for his birthday. The lesson was with Tony Henry of Avalon Stand Up Paddle at Pittwater’s Clareville Beach.

junior
Tony insisted the whole family took part; Mr Rambles and I had a board each, while Master Rambles joined us in a kayak and Junior Rambles sat on the front of Tony’s board. Earlier that morning, it was raining, I phoned Tony as I wasn’t sure if the conditions would be ok. “The conditions are perfect!” he reassured me. It was a Sunday in January (the summer holidays) and a normally packed beach car park was empty except for our two cars. Tony was right, the conditions were perfect, the water was completely calm and, as the little bit of rain seemed to have frightened everyone away, we didn’t see another soul on the water. Tony was an excellent teacher and we soon picked up the basics and managed a paddle to Paradise beach and back.

beach
That was it. The whole Rambles family was hooked on SUP! It’s great fun and not difficult. It’s supposed to help your ‘core stomach muscles’, which sounds good to me. I also like the fact that it is low impact on the environment. The best bit for me though, is the freedom it gives to explore Pittwater.

explore
There are so many beaches and inlets on the National Park shore line that are only accessible by water, and on a paddle board you can often explore further than by boat.  I love landing on a deserted beach and feeling that I am miles (kms) from anywhere.

pittwater
Sometimes, on a calm day, the best place to be is right in the middle of this amazing body of water; taking some deep breaths and pausing before heading back to shore and back to reality.

group
Groups of paddlers go out most mornings, and I usually try and join them once a week. It’s fun paddling with others and there is a feeling of safety in numbers when out on the water.

Pallets to Potting Table

pallets
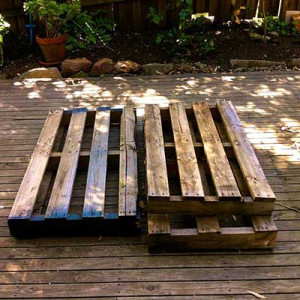
I had seen some great images of garden potting tables made from old pallets on various web sites, so when I found these pallets sitting at the side of the road around the corner from my house, during the last council clean up, I grabbed (literally!) the opportunity to try this reuse project.

pottingtable1
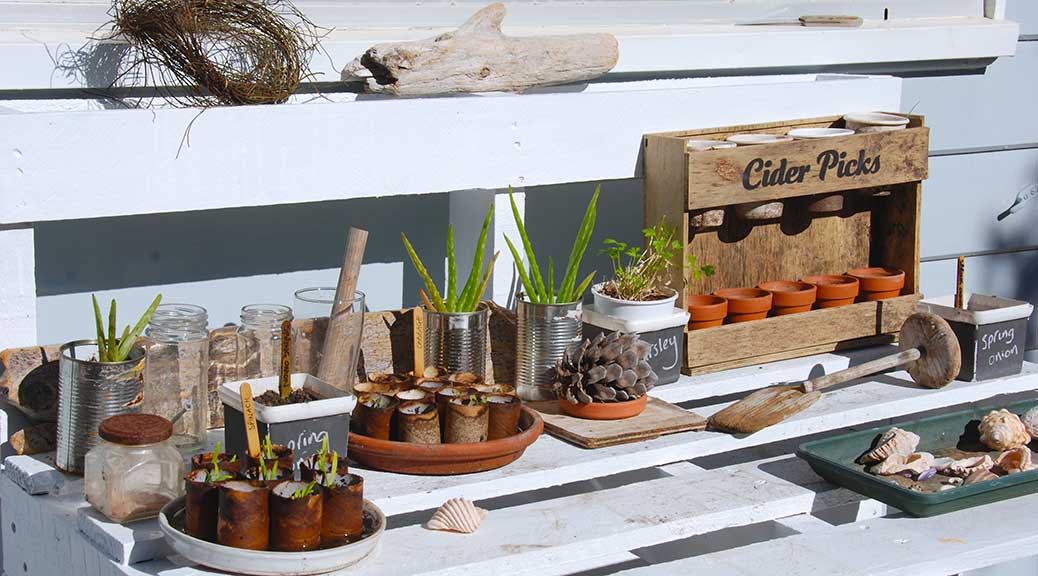
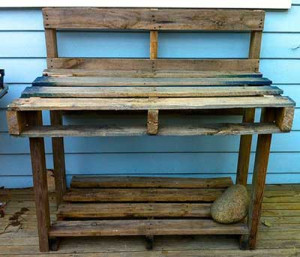
I’m not very experienced with carpentry, but, with the help of Mr Rambles, some extra found wood which we used for the legs and a few screws, the pallets soon resembled something like a potting table. It was a little wobbly and wonky, but that gave it character!

pottingtable2
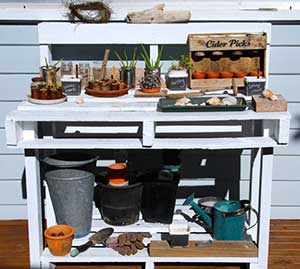
I have now painted it white to blend in with the ‘beachy’ style of my kitchen garden. I might need to fill in some of the gaps with wood in the near future, as things do tend to fall through! As well as using it for ‘potting’, it seems to be collecting some of my beachcombing finds and the north facing site makes it a great place for growing seedlings in the winter. I have tried planting seeds in old (reused!) loo rolls for the first time, so far the spinach seems to be happy in them.

Anticipation and Arrival

Since arriving in Australia almost ten years ago, I have longed to have some backyard chickens. After several house moves, including across the country, and renovations on our current home, which turned the garden into a builders dumping yard, we finally felt ready and took the plunge last September.

I grew up on a farm in England, and we always had chickens running around, so I think the Rambles boys were all thinking I must be a chicken expert. The real truth is I remember having fun playing with the chickens and I enjoyed collecting and eating their eggs. I only occasionally fed them, and I wasn’t the one who managed their health, cleaned them out, got up early to let them out in the mornings, and shut them up at dusk every night before the fox came. That was mainly all done by my mother. I told Master and Junior Rambles that we were all going to be responsible for looking after the chickens, but in reality history soon repeated itself!

IMG_1682
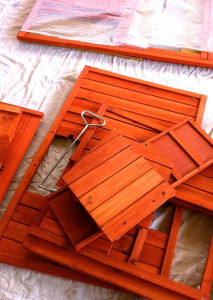
Before we could get the ‘chooks’ we needed  a coop for them. I had great intentions to design and build one ourselves, using recycled materials, but the longer it took us to get around to it the longer it was going to be until we could get the chickens. Eventually we found a bargain priced coop on the internet, which looked like a good start for us. The coop arrived flat packed, and orange!

IMG_1810
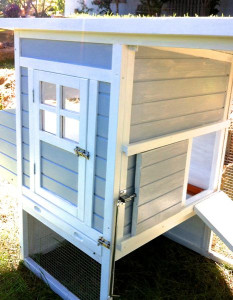
I wasn’t too keen on the bright orange wood, so decided it had to be painted. A friend of mine laughed a lot at this and was also concerned that I would think the coop would stay looking this lovely and clean after the had moved in. I knew it would looked ‘lived-in’ fairly quickly, but I was really pleased with it, a beach cottage coop for our beach side living!

P1150627
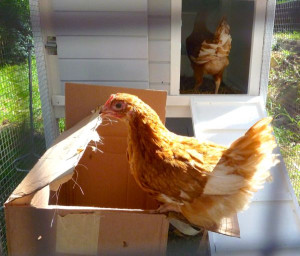
We bought the 8 week old chickens from a great local business, New Leaf Nursery, who specialise in sustainable living ideas. After doing our research on different breeds, we decided to get ISA Browns, which are supposed to be friendly and good with children as well as being great egg layers. They travelled home in a cardboard box and seemed very pleased when they were let out of it into their new home.

IMG_1880
I had been reading up on predators other animals who might attack or bother chickens in our area, but hadn’t heard anything about magpies. If you live in Australia in an area where magpies breed you will probably have experienced being ‘dived bombed’ by one when too near their nest. There was a magpie nesting in a tree outside our property, who obviously saw our young as a threat. To begin with they wouldn’t leave our poor young girls alone, they were constantly stomping around their coop and squawking at them loudly.

IMG_2443
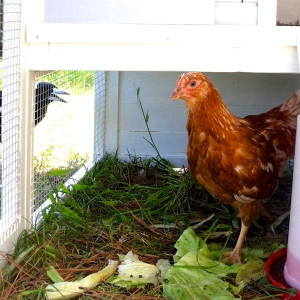
After a few days we let them out to do some ‘free ranging’ in the garden. Apart from being swooped by the magpies, they seemed really happy and settled. After several changes, we all finally decided on their names, Tilly, Billy and Milly. The magpies generally ignore them now, or perhaps the chickens have got better at standing up to them now they are bigger.

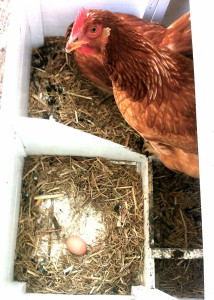
Of course one of the main reasons that we, and anyone, keeps chickens, is the eggs. How great to have a pet that supplies us with food. We weren’t expecting them to start laying until December but they surprised us in late October with our first (tiny) egg. We think it was laid by Billy, she looked as amazed as we did! The other two followed soon after, and all have been good layers ever since.

Roast Pumpkin Soup

  • Wrap half a medium sized pumpkin, with the seeds removed, and about 6 cloves of garlic (all skin on) in foil to make a parcel.
  • Put in a hot oven for an hour, remove and allow to cool. Open the parcel and remove the pumpkin skin.
  • Put a tablespoon of olive oil in a pan and add one or two chopped onions, cook gently until transparent. Squeeze the garlic out of their skins into the onions and add the pumpkin along with some chopped rosemary.
  • Add 750ml of vegetable stock and simmer for 20 minutes. Blitz and pass through a fine sieve.? Check seasoning.
  • Serve hot with a dash of balsamic vinegar, a swirl of soured cream and a sprinkling of lemon zest.


Delicious with crusty home made bread.